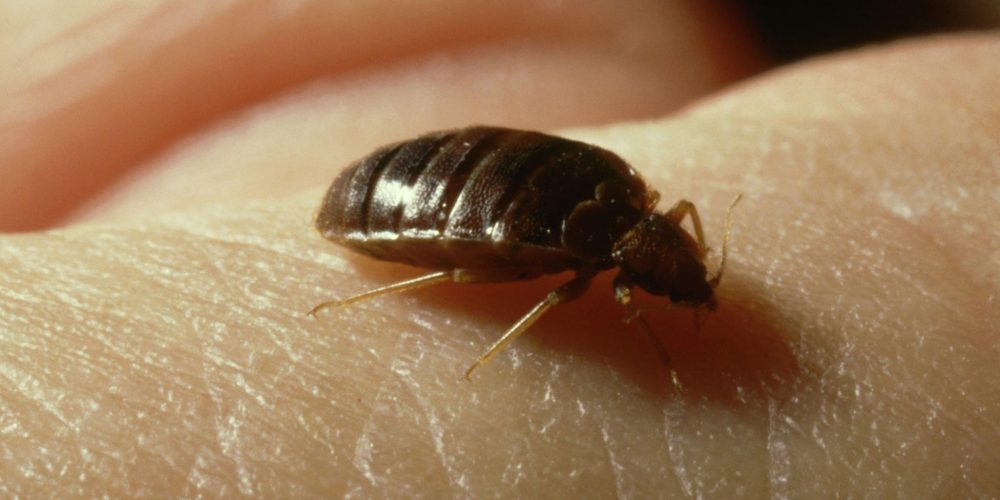
Encountering a tick can be a common occurrence, especially if you spend time outdoors. These tiny arachnids can carry diseases and should be removed promptly and safely to prevent potential health issues. In this article, we will provide a step-by-step guide on how to remove a tick safely and effectively.
1: Gather Your Supplies
Before you start the tick removal process, gather the necessary supplies:
– Fine-tipped tweezers
– Rubbing alcohol or antiseptic wipes
– A small, clean container with a lid (for storing the tick)
– Gloves (optional but recommended)
2: Prepare Yourself and the Area
Make sure you have good lighting, as you’ll want to see clearly during the removal process. If you’re in an outdoor setting, try to find a spot with minimal distractions and a steady hand.
3: Put on Gloves (Optional)
Wearing gloves can reduce the risk of coming into direct contact with the tick or its bodily fluids. This step is especially important if you’re in an area where tick-borne diseases are prevalent.
4: Grab the Tick with Tweezers
Using fine-tipped tweezers, grasp the tick as close to the skin’s surface as possible. The goal is to grab the tick by its head or mouthparts, not its bloated body. This minimizes the risk of squeezing its stomach contents into the bite wound.
5: Remove the Tick Slowly and Steadily
With a firm but gentle grip, pull the tick upward and away from the skin. Avoid twisting or jerking the tick, as this can cause its mouthparts to break off and remain in the skin. Be patient; it may take a moment for the tick to release its hold.
6: Dispose of the Tick Properly
Place the removed tick in the small container you prepared earlier. It’s a good idea to add a small amount of rubbing alcohol to the container to kill the tick. Tightly seal the container and label it with the date of removal.
7: Clean the Bite Area
After successfully removing the tick, clean the bite area and your hands with rubbing alcohol, an antiseptic wipe, or soap and water. This reduces the risk of infection.
8: Monitor for Symptoms
Keep an eye on the bite area for any signs of infection or an allergic reaction. Symptoms to watch for include redness, swelling, itching, or a bull’s-eye rash. If you develop any of these symptoms or experience fever, seek medical attention promptly.
9: Dispose of the Tick Properly
To dispose of the tick safely, you can either flush it down the toilet or place it in a sealed bag or container before disposing of it in the trash. Avoid crushing the tick with your fingers.
10: Wash Your Hands
Thoroughly wash your hands with soap and water after removing and disposing of the tick.
Conclusion
Knowing how to remove a tick correctly is essential for reducing the risk of tick-borne diseases and complications. By following these steps and taking precautions, you can safely and effectively remove ticks when they attach themselves to you or your loved ones. Remember that prompt and proper tick removal is crucial for minimizing potential health risks associated with tick bites.


